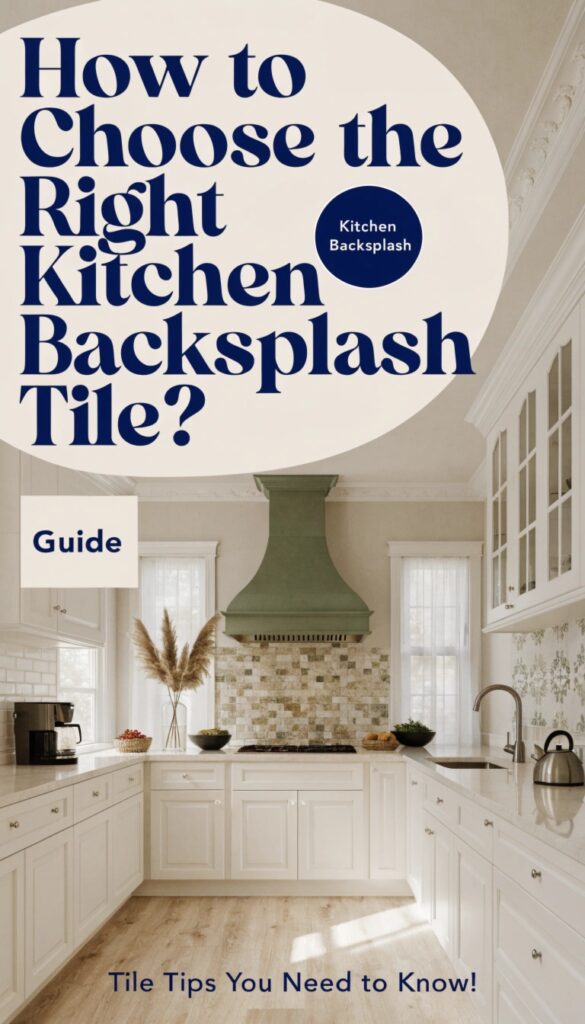
Imagine stepping into your kitchen at dawn, sunlight dancing across a chaotic canvas of splattered sauces and faded paint, your heart sinks, dreaming of a space that sparks joy.
What if one bold choice could ignite that transformation? Enter the kitchen backsplash tile: your secret weapon for blending style, durability, and personality into a functional masterpiece.
You’re not just tiling a wall; you’re crafting the heartbeat of your home, where every meal becomes a memory.
Struggling to pick the perfect one amid endless options? Let me save you that massive headache.
You absolutely can find the perfect balance between high-end style and everyday survival.
1. Understand Your Kitchen’s True Vibe
Respect the Dominant Elements
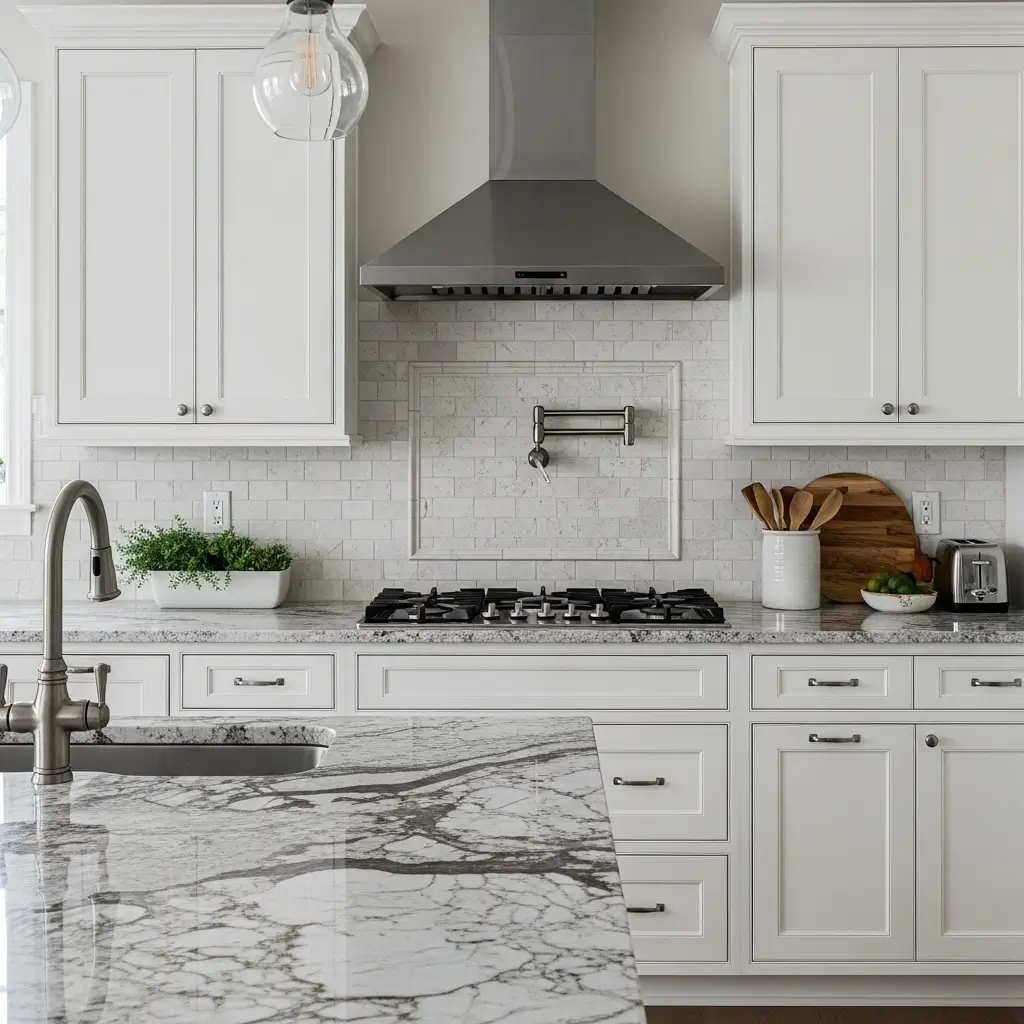
Your new backsplash must play nice with the existing stars of your kitchen. Look closely at your cabinets and your countertops.
They dictate the rules. If you bought dramatic, heavily veined granite countertops, you need a quiet, simple backsplash.
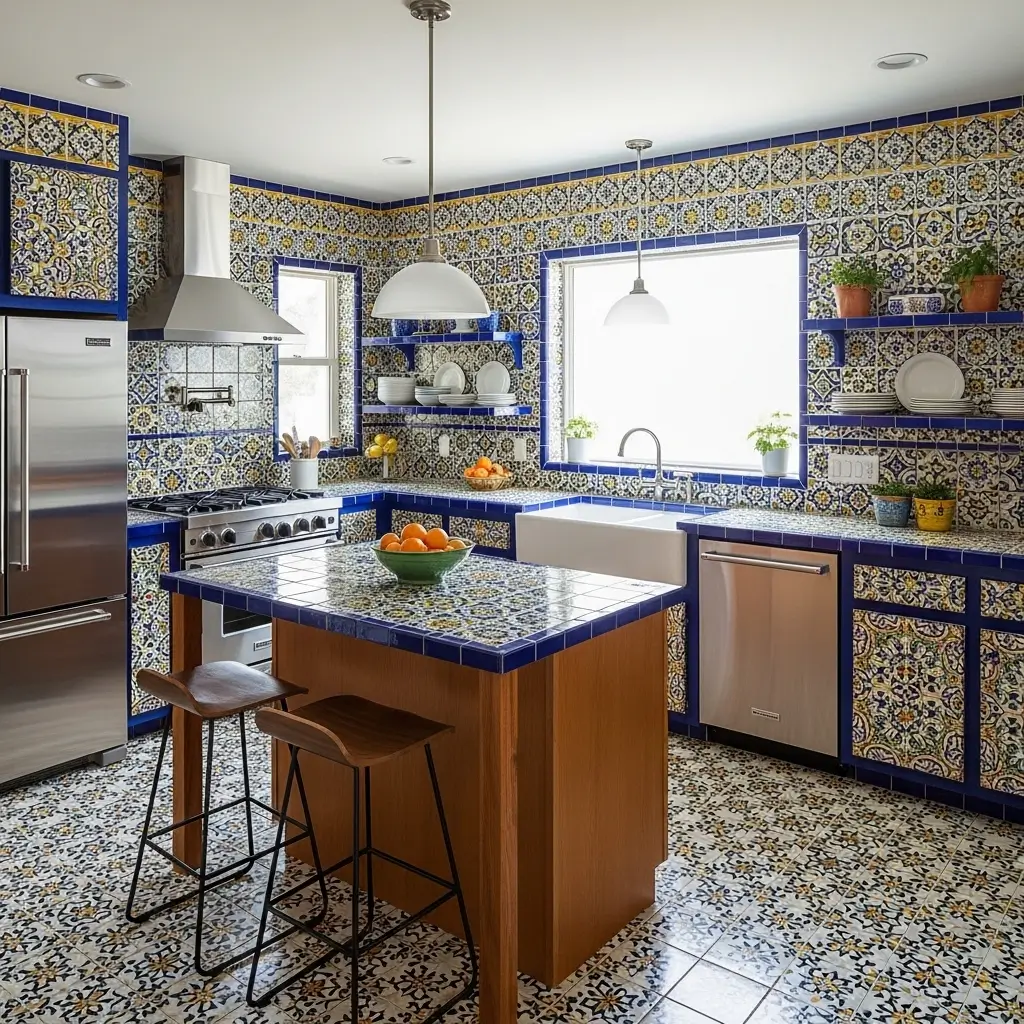
I learned this lesson the hard way. My cousin paired extremely busy mosaic tiles with a wild marble countertop.
The resulting visual chaos gives me a literal migraine every single Thanksgiving. Let one bold element shine and force the other materials to play the supporting role.
Ever wonder why some kitchens feel perfectly calm while others induce immediate panic? Designers master the art of visual balance.
Match warm cabinet tones with warm tiles, and cool tones with cool tiles.
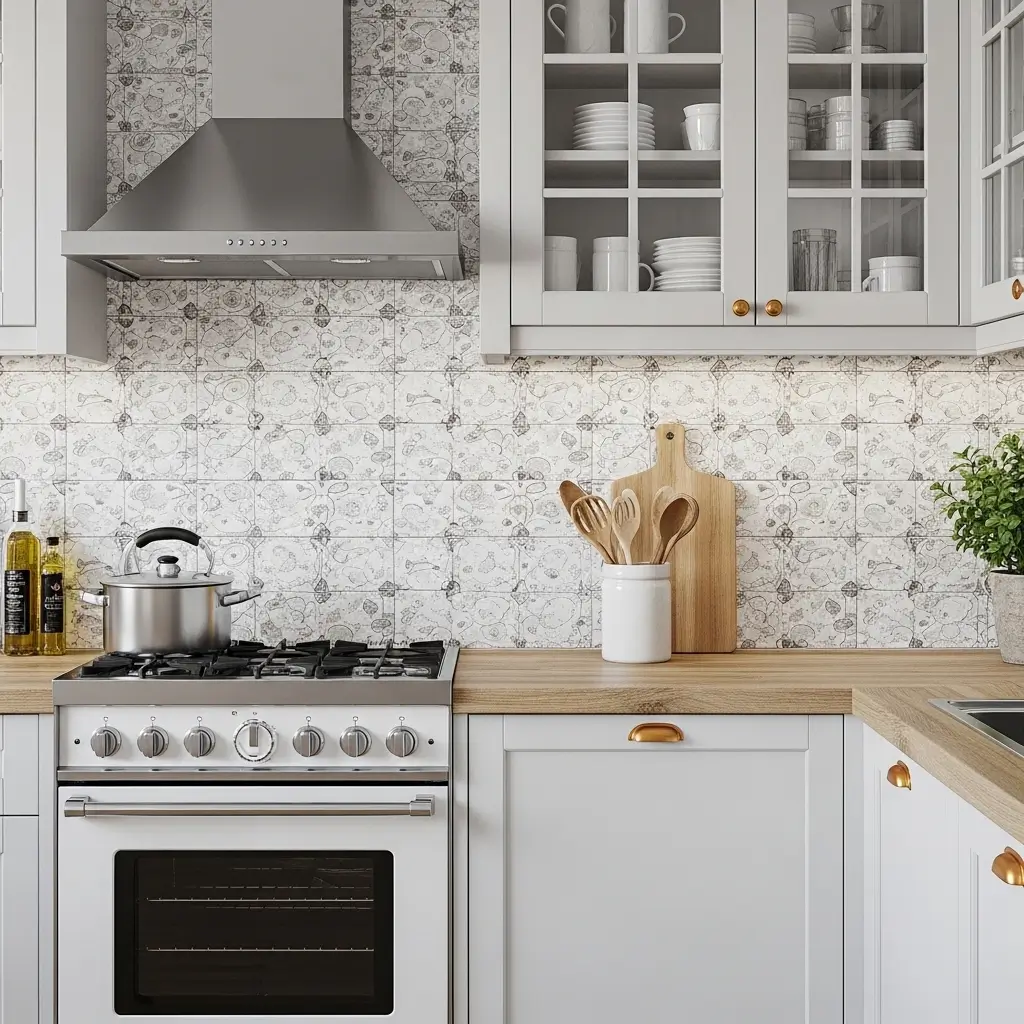
2. Pick the Perfect Tile Material
Ceramic and Porcelain: The Unsung Heroes
Ceramic and porcelain easily win the popularity contest for regular homes.
They clean up incredibly fast, they resist horrible stains, and they cost significantly less than a luxury vacation.
Manufacturers create them in literally every color, shape, and pattern you can imagine.
You can wipe bacon grease off a glossy ceramic tile with a simple damp paper towel.
I strongly recommend these materials for anyone who actually cooks real food. You get solid durability without sacrificing your entire renovation budget.
Glass Tiles: The Light Bouncers
Want to brighten a gloomy, windowless kitchen? Buy glass tiles. They reflect light beautifully and make tiny spaces feel much larger.
They instantly add a sleek, modern touch to boring, builder-grade cabinetry.
However, I must warn you about the upkeep. Glass shows every single water spot and fingerprint.
I wipe down my best friend’s glass backsplash every time I visit her house because the smudges drive me absolutely crazy. You will buy a lot of glass cleaner.
Natural Stone: The High-Maintenance Diva
Marble, travertine, and slate look undeniably gorgeous. They bring an earthy, expensive texture to any room.
Unfortunately, natural stone acts like a thirsty sponge for kitchen disasters. You absolutely must seal natural stone regularly.
If you skip this crucial step, that rogue splash of hot chili oil will live on your wall forever. IMO, skip the natural stone entirely if you run a chaotic, messy household.
3. Nail Down the Tile Shape and Size
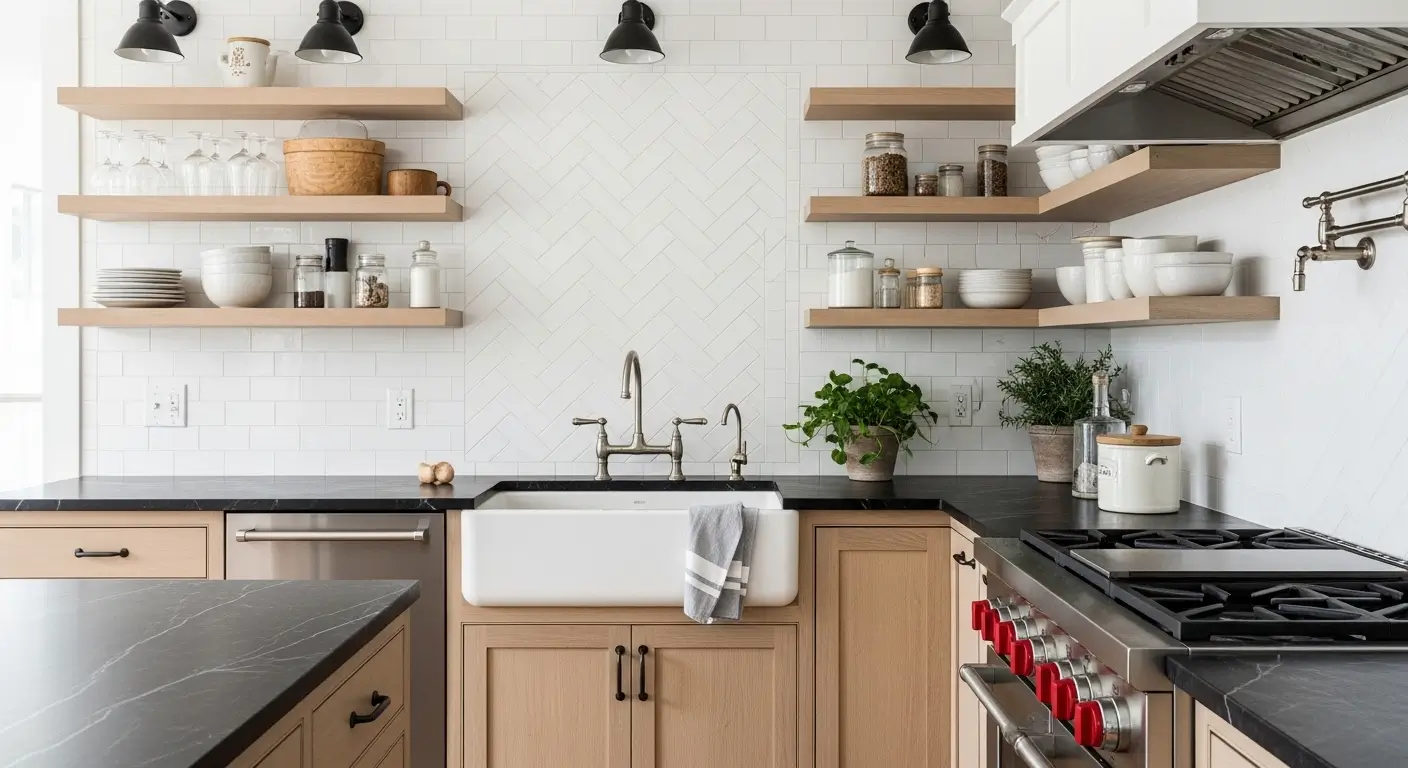
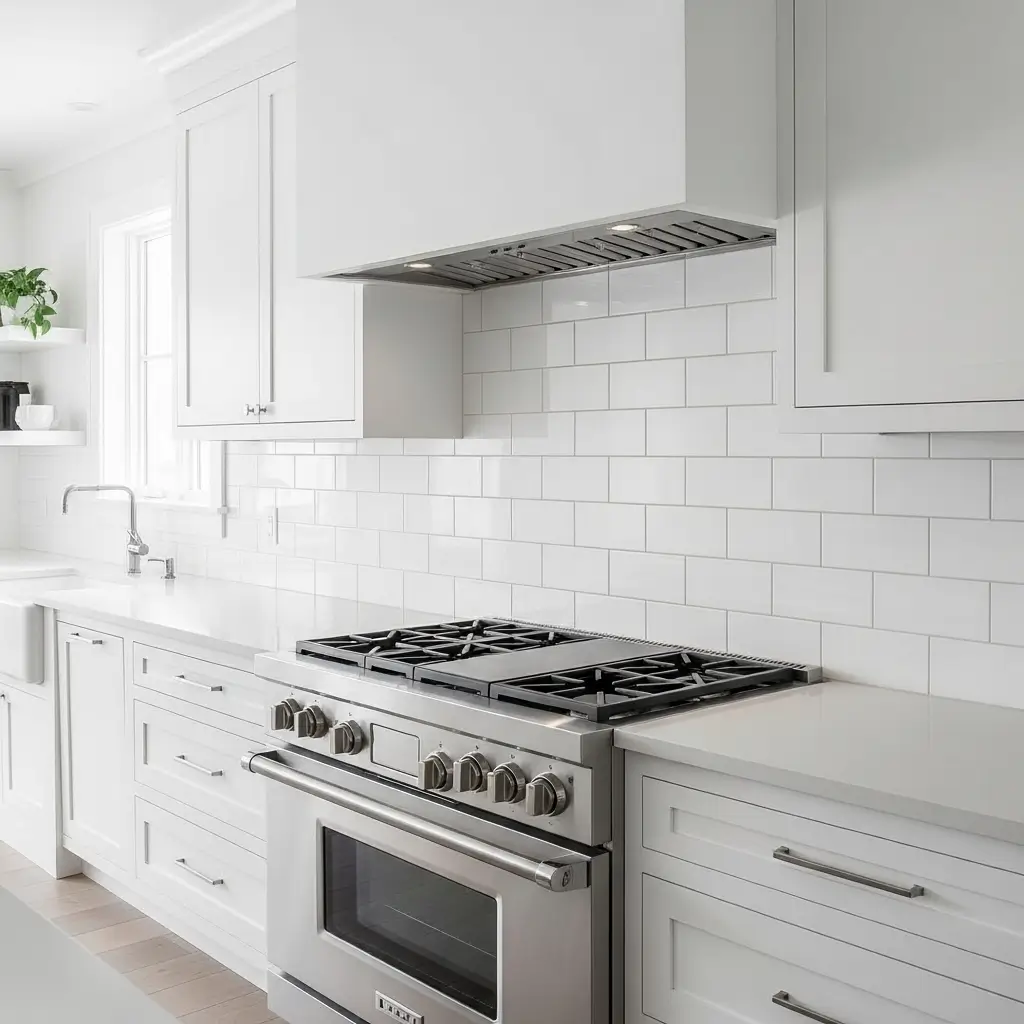
The Undefeated Subway Tile
You literally cannot go wrong with a classic subway tile. Snobs call it boring, but smart homeowners call it a timeless classic.
A simple white three-by-six-inch tile protects your home’s resale value better than almost any other design choice.
You do not have to settle for basic layouts, though. Lay those same subway tiles in a herringbone pattern to create instant architectural drama.
You can also stack them perfectly straight up and down for a crisp, ultra-modern vibe.
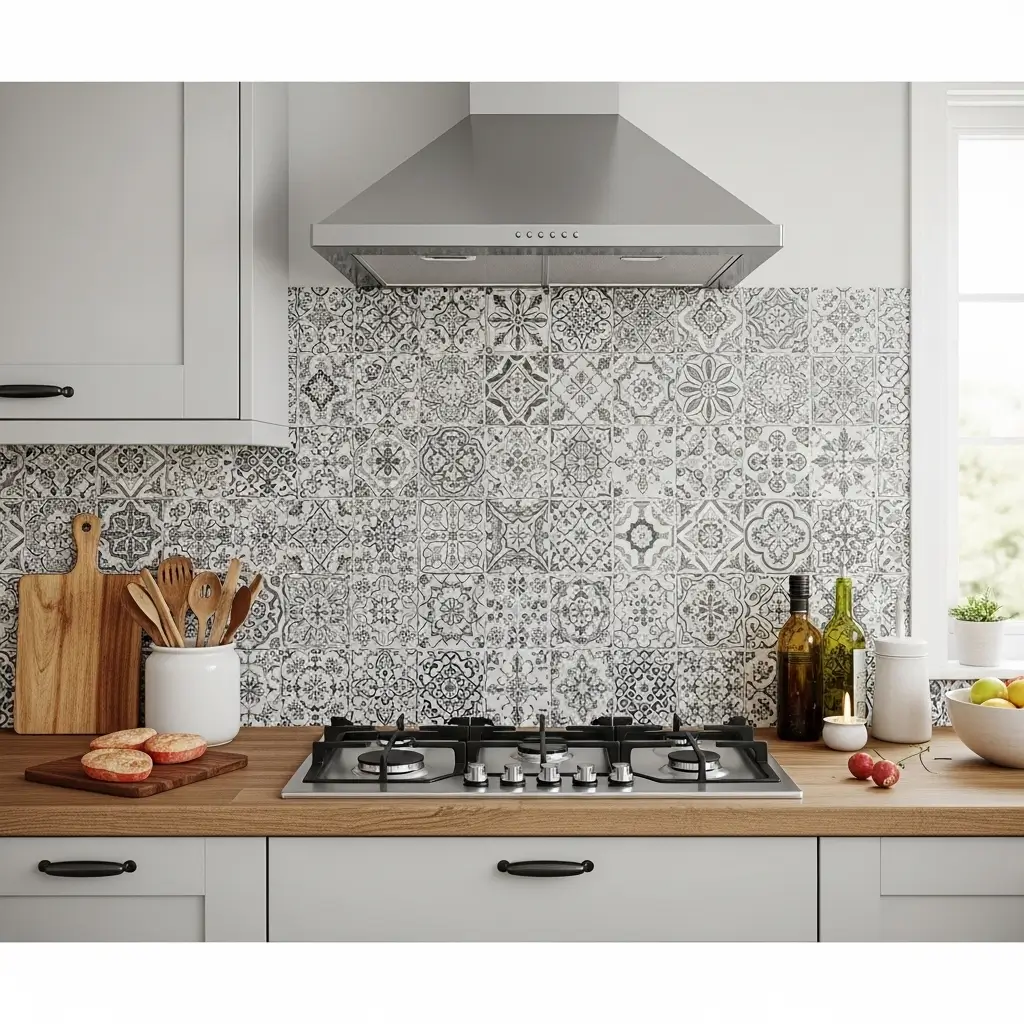
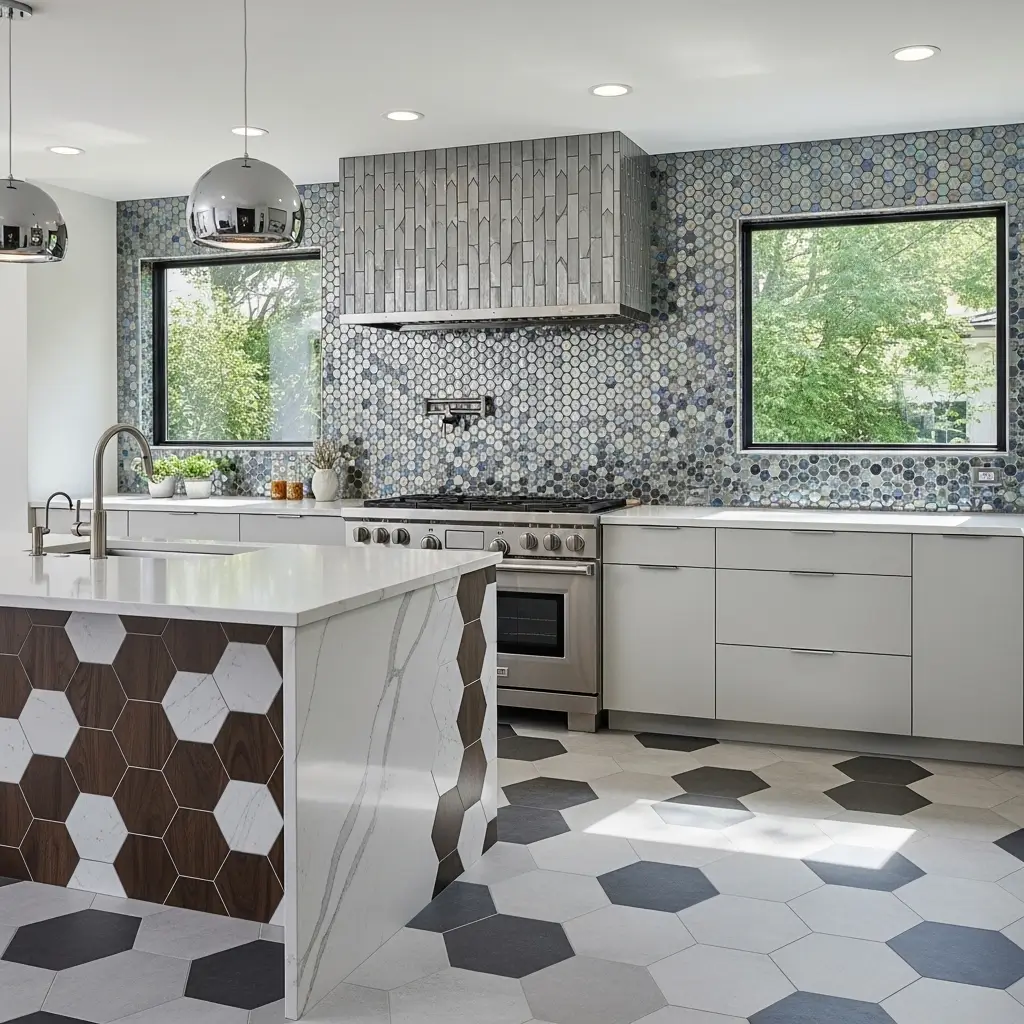
Hexagons, Pickets, and Mosaics
Want to show off your quirky personality? Pick a fun geometric shape like a hexagon or a picket tile.
These unique shapes draw the eye and create beautiful, complex patterns right across your wall.
Just remember a very basic mathematical truth. Smaller tiles require significantly more grout lines.
More grout lines mean you will spend your precious Saturdays scrubbing the wall with an old toothbrush.
4. Choose Your Finish Carefully
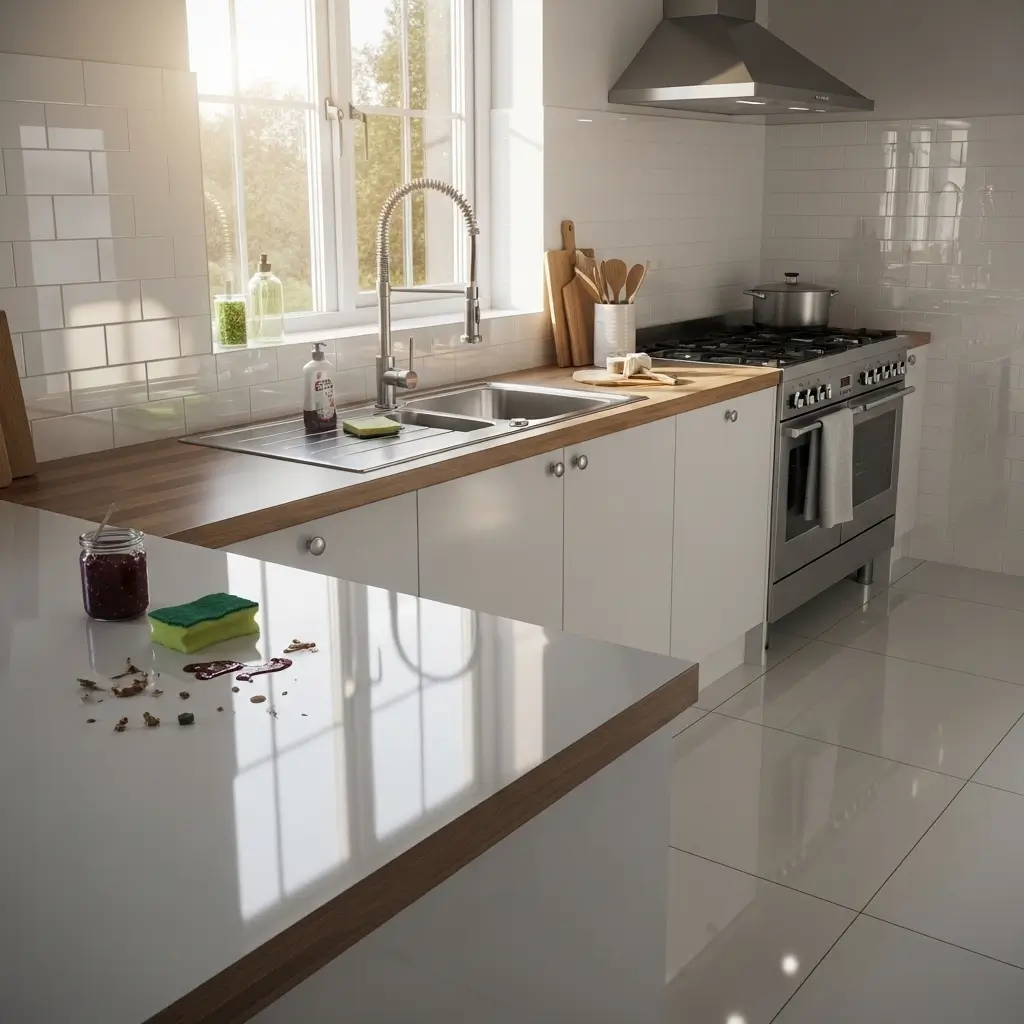
The Glossy Advantage
Glossy tiles act like tiny mirrors on your wall. They bounce the morning sun around the room and make your kitchen feel awake.
More importantly, slippery surfaces aggressively repel sticky messes. You simply swipe a sponge across a glossy tile, and the mess immediately disappears.
The Matte Aesthetic
Matte finishes hide smudges and water spots like absolute champions. They offer a sophisticated, muted look that feels very organic and grounded.
However, their slightly rough surface grips onto grease and dust. You will scrub a matte tile much harder than a glossy one.
5. Do Not Ignore the Grout Color!
Homeowners obsess over the tile and completely forget the grout. Grout color drastically changes the entire appearance of your backsplash.
Do you really want to ruin expensive tile with the wrong cement paste? I certainly do not.
Consider these three main approaches when you buy your grout:
- Matching Grout: White grout with white tile creates a clean, seamless look. It makes the wall look like one solid texture. Just know that white grout near a stovetop attracts grease like a magnet.
- Contrasting Grout: Dark gray or black grout makes white tiles pop aggressively. It highlights the exact shape of each individual tile. As a massive bonus, dark grout completely hides tomato sauce stains.
- Colorful Grout: Some brave souls use blue or pink grout with neutral tiles. This creates a wild, custom look. You better love that color, because re-grouting a kitchen takes days of painful labor.
6. Navigating the World of Peel-and-Stick Tiles
The Renter’s Dream Solution
Maybe you rent your apartment. Maybe you lack the budget for wet saws and messy mortar. Enter the peel-and-stick tile.
Manufacturers finally figured out how to make these adhesive sheets look exactly like the real deal.
You just peel off the backing and slap them directly onto your painted drywall.
The Harsh Reality of Adhesives
I love peel-and-stick tiles for a quick weekend glow-up. However, I need to keep it real with you. High heat from your oven will eventually melt the cheap adhesive.
Steam from your boiling pasta water causes the plastic corners to peel. Keep these temporary tiles far away from intense heat sources.
7. Where Exactly Should Your Backsplash End?
The Standard Height Approach
Most builders stop the backsplash exactly eighteen inches above the countertop, right where the upper cabinets begin.
This standard approach saves money and gets the job done quickly. It fully protects the lower half of the wall where kitchen splashes happen most often.
Taking It All the Way Up
Do you want a kitchen that looks like a high-end magazine cover? Run your tile all the way up to the ceiling.
Tiling around windows and above floating shelves creates massive visual impact. I convinced my neighbor to tile her entire stove wall to the ceiling.
The finished room looks twice as tall, and she thanks me every time I see her.
8. Coordinating Hardware and Fixtures
Matching Metals with Tile Tones
Your new tile does not exist in a vacuum. You must coordinate it with your cabinet knobs, your faucet, and your light fixtures.
Cool-toned tiles look incredible next to polished chrome or brushed nickel hardware.
Warm tiles sing when you pair them with unlacquered brass or oil-rubbed bronze.
The Contrast Strategy
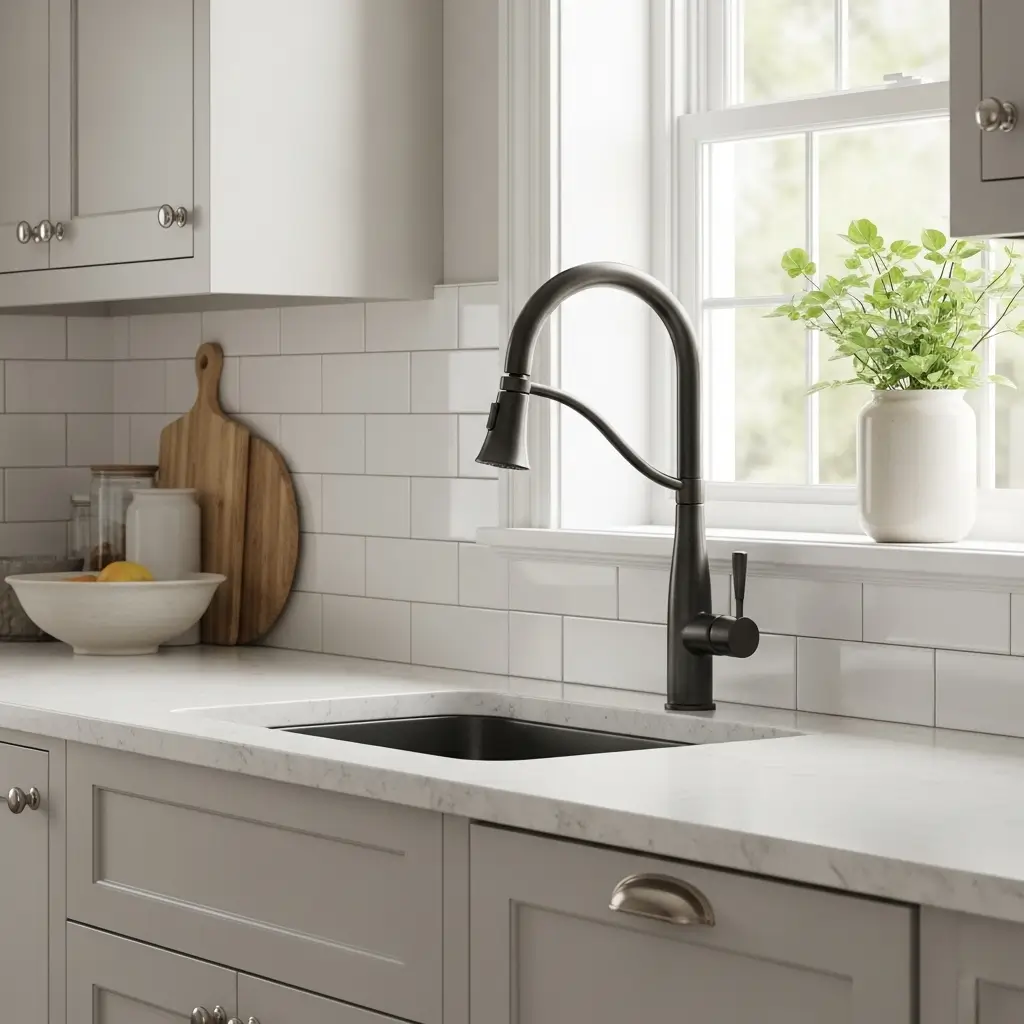
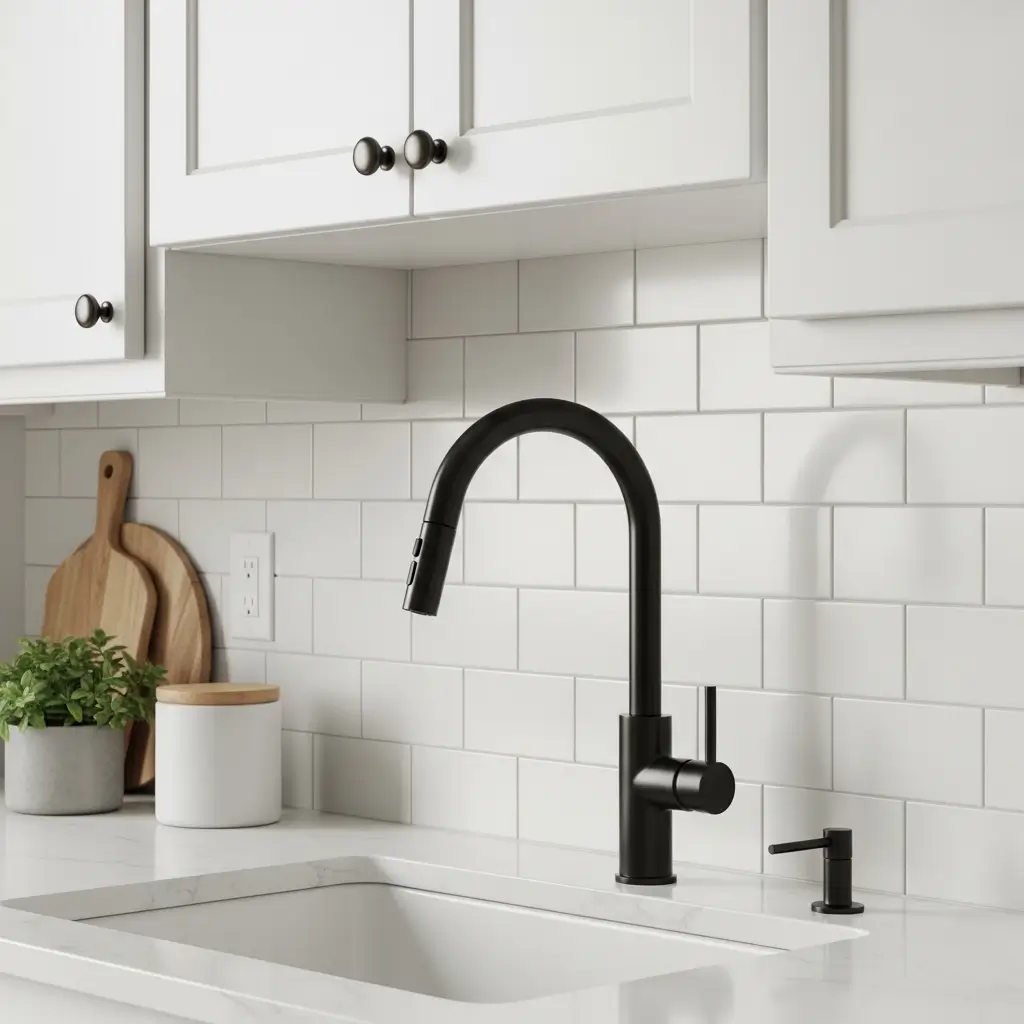
Sometimes, matching everything creates a remarkably boring room. I absolutely love mixing materials.
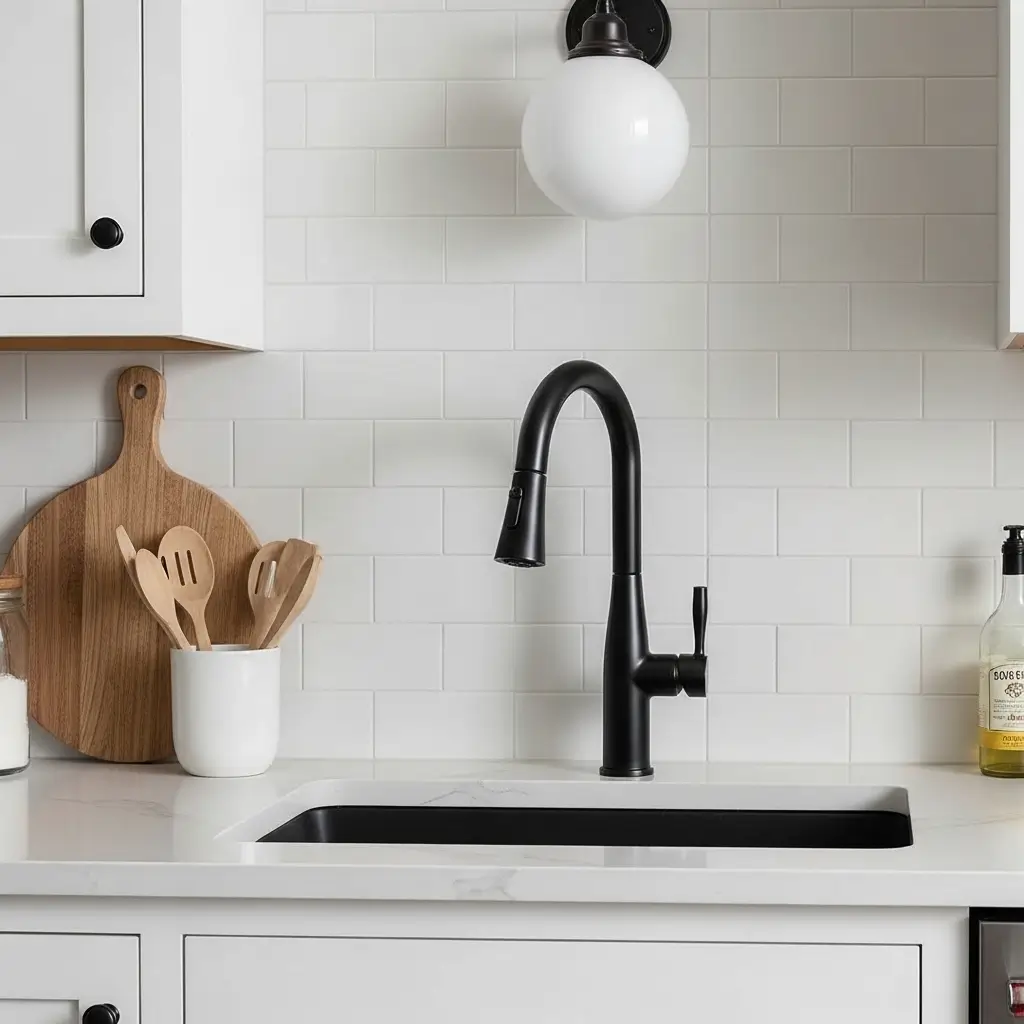
Try pairing a soft, matte white subway tile with a bold, matte black kitchen faucet.
The sharp contrast creates a modern, edgy vibe without overwhelming the small space.
9. Set a Realistic Budget and Buy Extras
Do the Math First
Tile costs add up shockingly fast. You might find a gorgeous tile for twenty dollars a square foot.
That sounds perfectly reasonable until you realize you need forty square feet to cover the wall.
Suddenly, you just spent eight hundred dollars on a purely decorative surface.
The Ten Percent Rule
Always calculate your exact square footage and then purchase ten percent extra. You will accidentally drop a tile on the floor.
You will inevitably make a bad cut around an electrical outlet.
FYI, having an extra box of tiles prevents a panicked, tear-filled trip to the hardware store halfway through your project.
10. Plan for the Messy Installation Reality
Hiring a Pro vs. Doing It Yourself
Installing a backsplash looks incredibly easy on those home improvement shows. They edit out all the furious swearing and the bleeding fingers.
You can absolutely install subway tile yourself if you possess basic patience and a decent wet saw.
However, do not attempt to install tiny glass mosaics or heavy natural stone on your own. Pay a professional tile setter.
A bad tile job ruins the look of your entire expensive kitchen. Crooked grout lines will mock you every single morning while you brew your coffee.
Prepping the Wall
You cannot stick heavy tiles to a crumbling, dirty wall. You must repair any major holes and scrub off all cooking grease before you start spreading the mortar.
A clean, perfectly flat surface guarantees a straight, beautiful tile job.
Summary
Choosing the perfect kitchen backsplash requires balancing your checking account, your personal style, and your tolerance for weekend cleaning chores.
You need a reliable surface that handles daily life without looking like a total disaster zone.
Take your time with this massive choice. Tape several different tile samples directly to your kitchen wall. Look at them while you drink your morning coffee.
Look at them again under the harsh evening lights. Force yourself to live with the samples for at least a full week before you pull out your credit card.
Don’t rush a design decision you have to stare at every single day for the next decade!