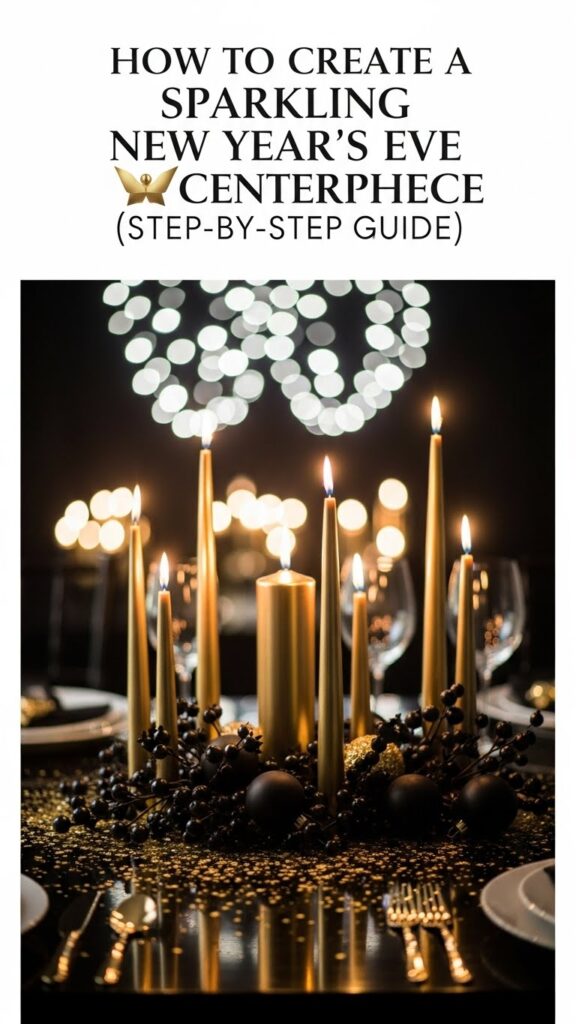
What’s the one detail guests remember most when the clock strikes midnight? Often, it’s the table that sets the mood. A dull centerpiece can make even the most festive New Year’s Eve feel forgettable, while a sparkling one instantly elevates the celebration.
If you’ve ever wondered how to create a show-stopping display without stress or overspending, you’re in the right place. Just like Reliable Cooking Pans bring confidence to your kitchen, the right centerpiece brings polish and joy to your party space.
In this step-by-step guide, you’ll learn simple, creative ways to design a glamorous New Year’s Eve centerpiece that feels elegant, modern, and unforgettable.
Why Bother with a Sparkling Centerpiece?
You crave that wow factor, right? A killer New Year’s Eve centerpiece screams celebration without breaking the bank. Guests snap pics, Instagram explodes, and you play host hero.
I once skipped this and regretted it, table felt like a board meeting, not a bash. Sparkling elements like glitter and lights turn ordinary into magical. Why settle for boring when shimmer costs pennies?
Think ahead: This DIY beats store-bought junk. Ever wondered why pros charge $100 for what you craft in an hour?
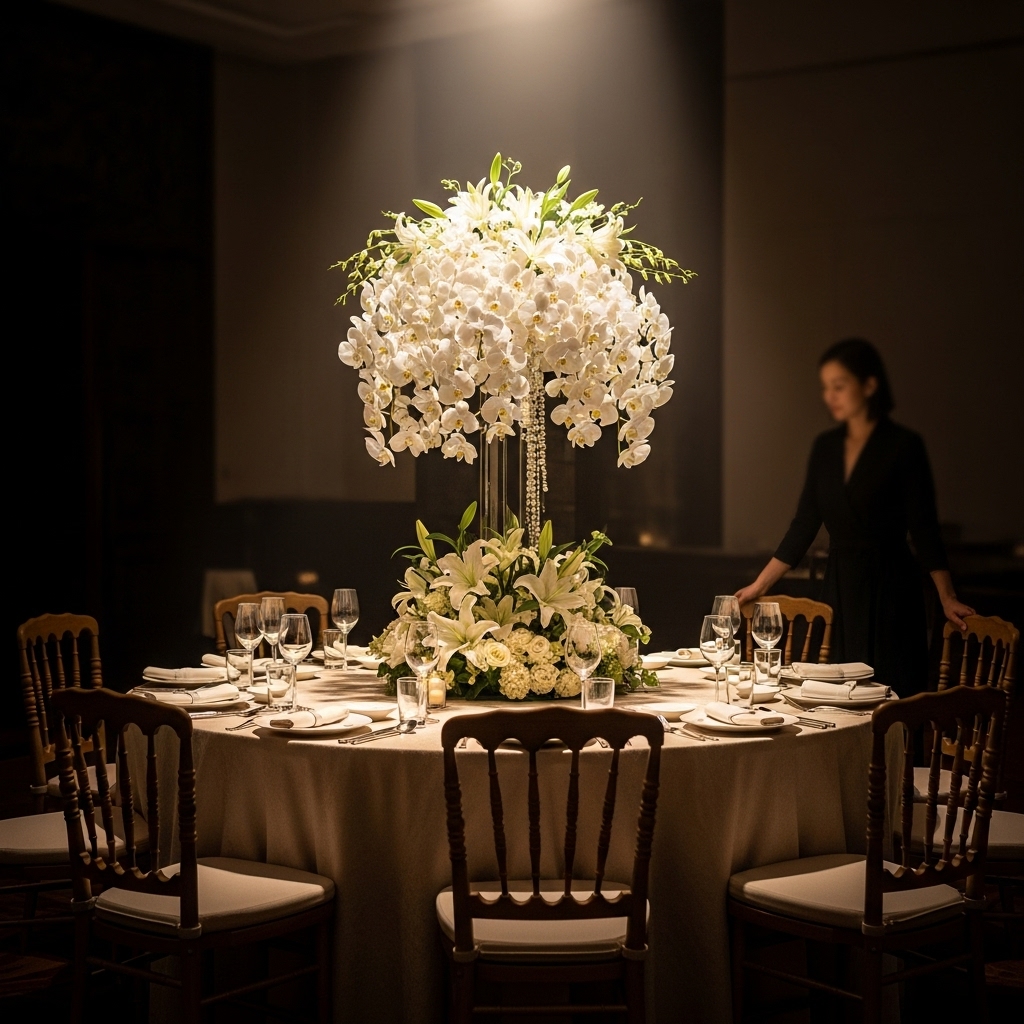
Purchase ready to use New Year’s Eve centerpiece here

Gather Your Supplies First

Don’t wing it; stock up smart. I learned the hard way when my local craft store closed early—disaster. Hit dollar stores or Amazon for steals.
Here’s your must-have list for a sparkling New Year’s Eve centerpiece:
- Base vase or tray: Glass or mirrored for max shine; grab a thrift find.
- Faux florals: Gold or silver stems, think roses or evergreens.
- Lights: Battery-powered fairy lights (warm white or gold, 20-50 bulbs).
- Glitter bombs: Spray adhesive, chunky gold/silver glitter, metallic paint.
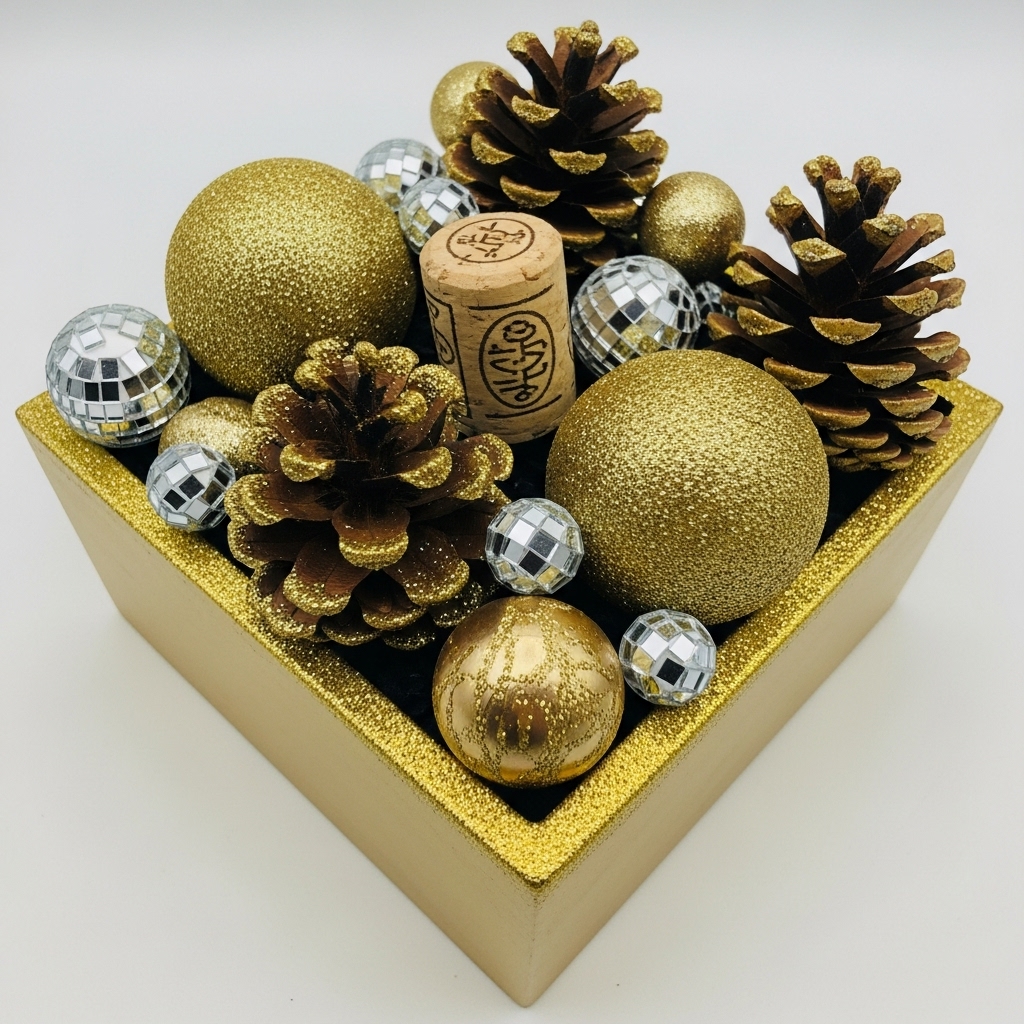
- Fillers: Pinecones, ornaments, confetti; New Year’s themed.
- Tools: Hot glue gun, wire cutters, scissors, ribbon (sparkly metallics).
- Extras: Faux snow, LED candles, champagne corks for quirk.
Budget? Under $30, IMO. Sarcasm alert: Who needs diamonds when glitter does the trick?
Prep Your Workspace Like a Pro

Clear a table, newspapers down, or regret the mess. I once glitter-bombed my kitchen counter; sparkles haunted me for weeks.
Blast festive tunes. Pour coffee (or bubbly, FYI). Set timer for 45 minutes. Ready to build your sparkling centerpiece?
Ever asked why prepping saves sanity? It does, trust me.
Step 1: Build the Base for Stability
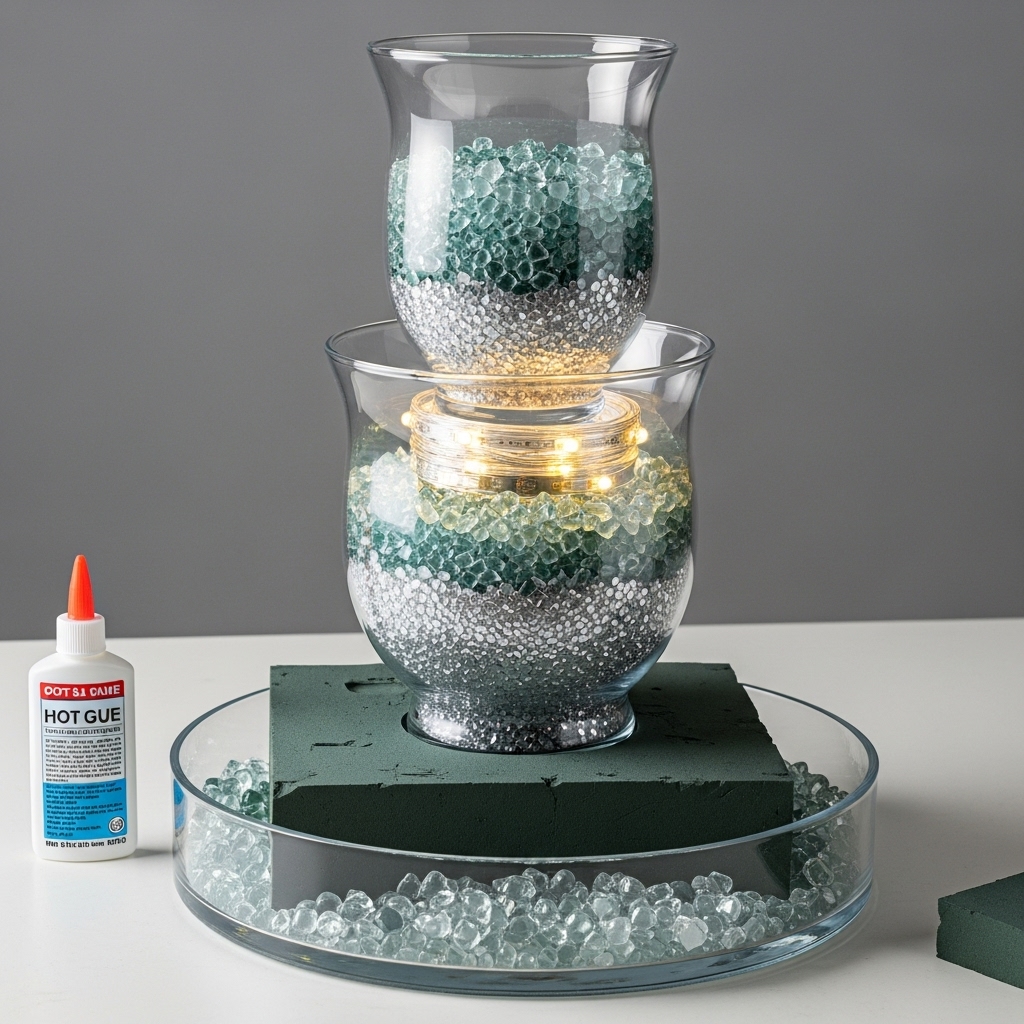
Start strong; wobbly bases kill vibes. Pick a sturdy tray or vase, 12-18 inches wide fits most tables.
Hot glue foam or floral foam inside for anchoring. Layer crushed glass or clear pebbles at the bottom, shimmer city.
Add height: Stack a smaller vase inside the big one. Secure with glue. Pro tip: I wedge LED strips here for hidden glow.
Your base now anchors everything. Solid foundation, sparkling dreams, what’s not to love?
Step 2: Layer in Greenery and Florals

Greenery sets the scene. Snip faux pine branches to varying heights, tall in back, short front.
Wire or glue them into the foam. Fluff wildly; perfection bores.
Intersperse metallic florals: Spray gold roses first; let dry 10 minutes. Cluster three per spot. Ever wondered why asymmetry rocks? It mimics nature, feels alive.
Twist in sparkling ribbon tendrils. Personal fave: I add eucalyptus for that fresh pop. guests rave.
Step 3: Amp Up the Sparkle Factor
Time for bling! This step turns good into gorgeous New Year’s Eve centerpiece.
Spray fillers lightly with adhesive, then dunk in chunky glitter. Pinecones, ornaments, corks; go wild. Shake off excess; nobody wants a glitter avalanche.
Paint edges gold. Glue mini disco balls or faceted gems randomly. I once overdid it; looked like a craft store exploded. Lesson: Less is more sparkle.
Rhetorical nudge: Why stop at dull when shimmer screams “party”?
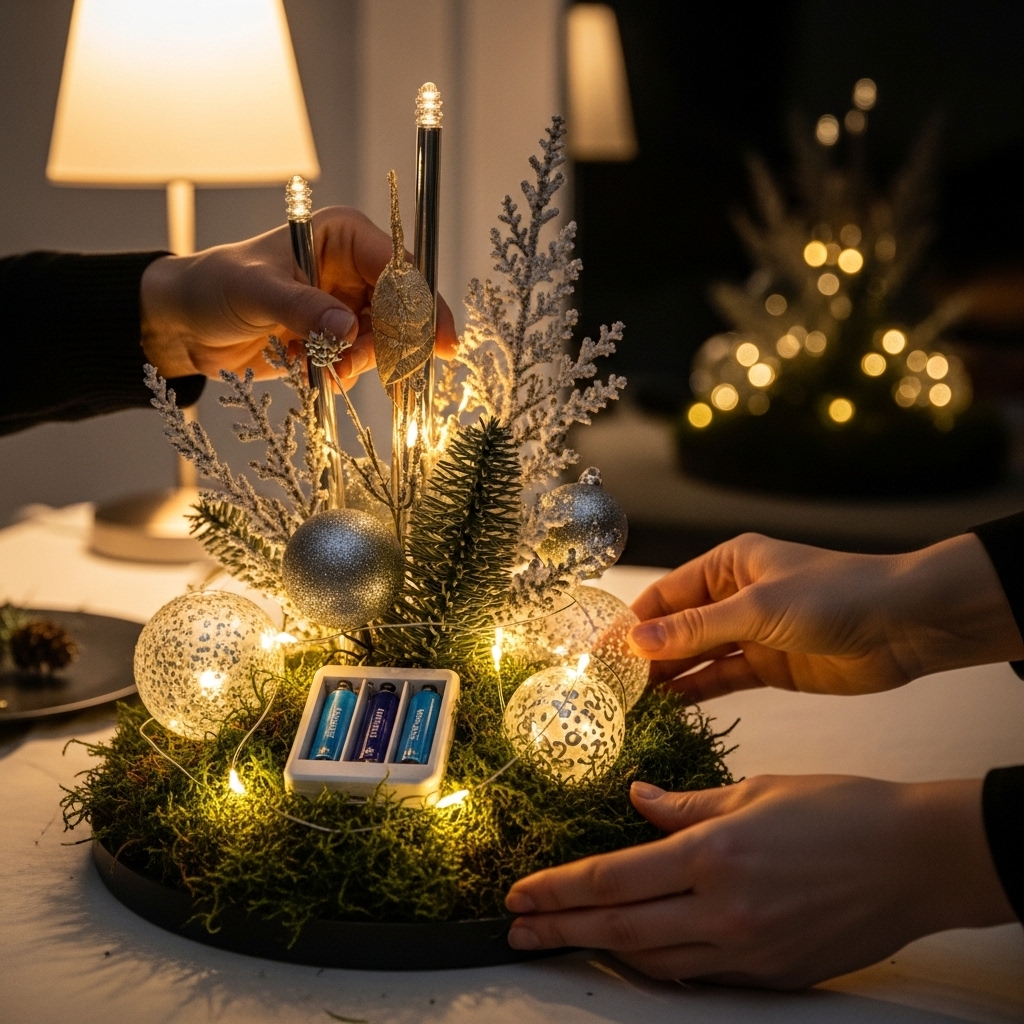
Step 4: Weave in the Lights
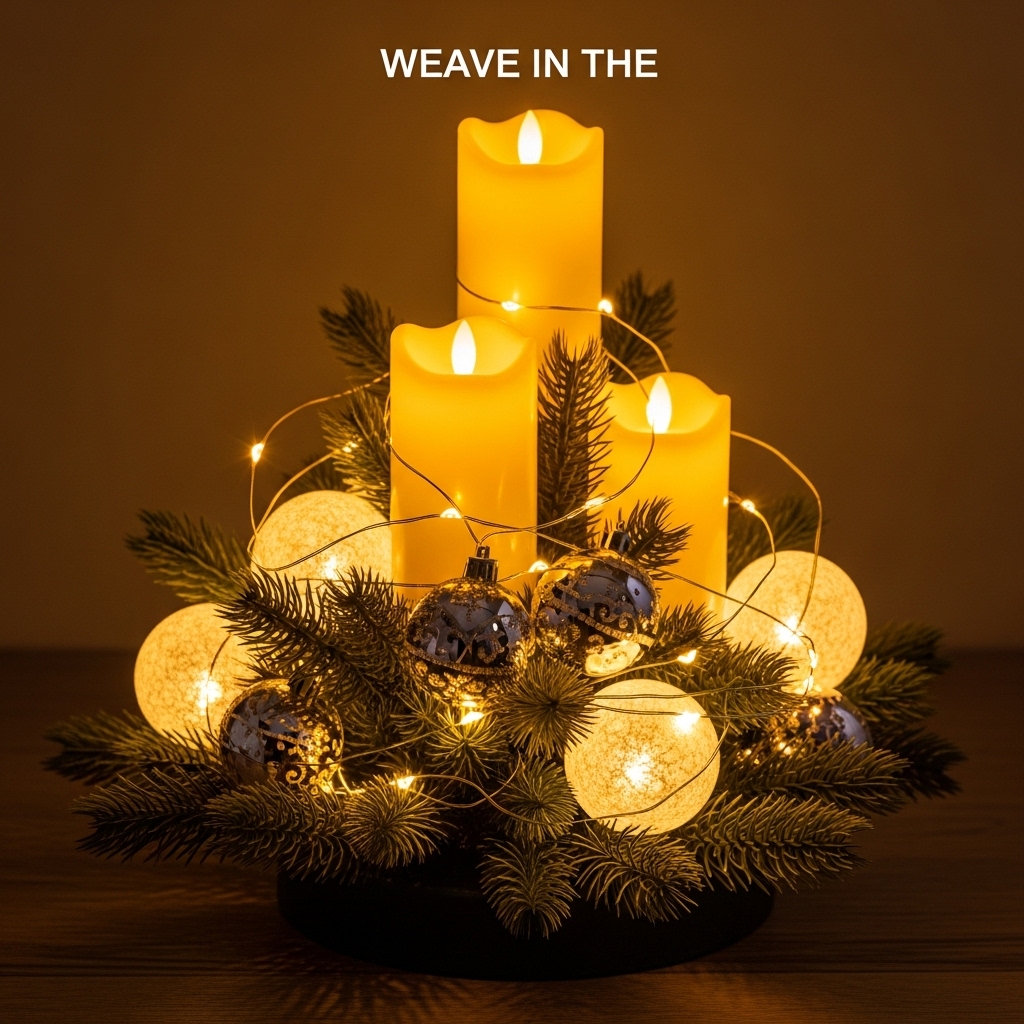
Lights make magic. Untangle fairy lights, test batteries now.
Thread through greenery from base up, hiding wires. Tuck ends under foam. Warm glow mimics candlelight without fire risk.
Layer LED ornaments that pulse. I rig mine to a timer, lights dance till midnight. Genius, right?
Pro hack: Double up strands for intense sparkle. Your sparkling New Year’s Eve centerpiece now glows like Times Square.
Purchase easy to untangle new years eve fairy lights
Lighting Variations for Different Vibes
Cozy intimate: Soft white lights, fewer bulbs.

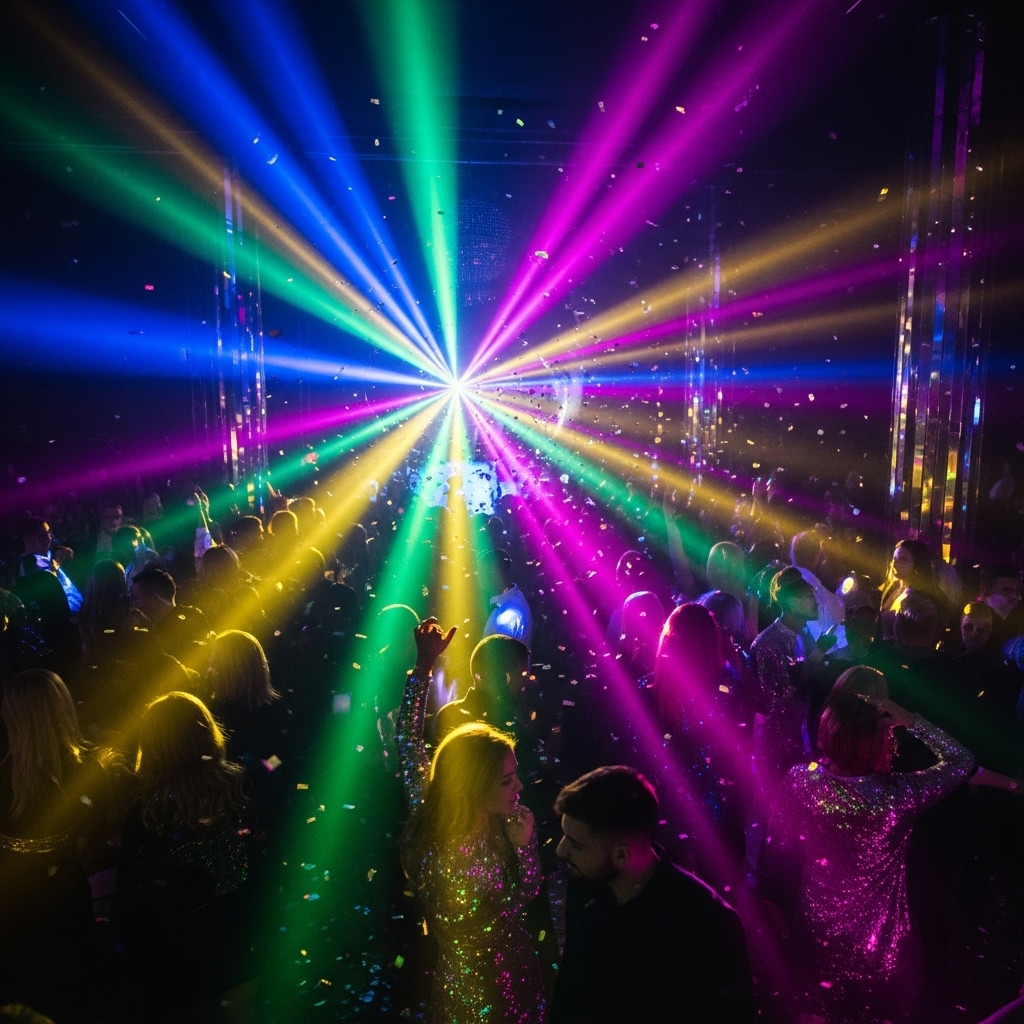
Glam bash: Multicolor with strobes.
Elegant minimalist: Single gold strand, subtle.
Pick your mood. I switch based on crowd, saves sanity.
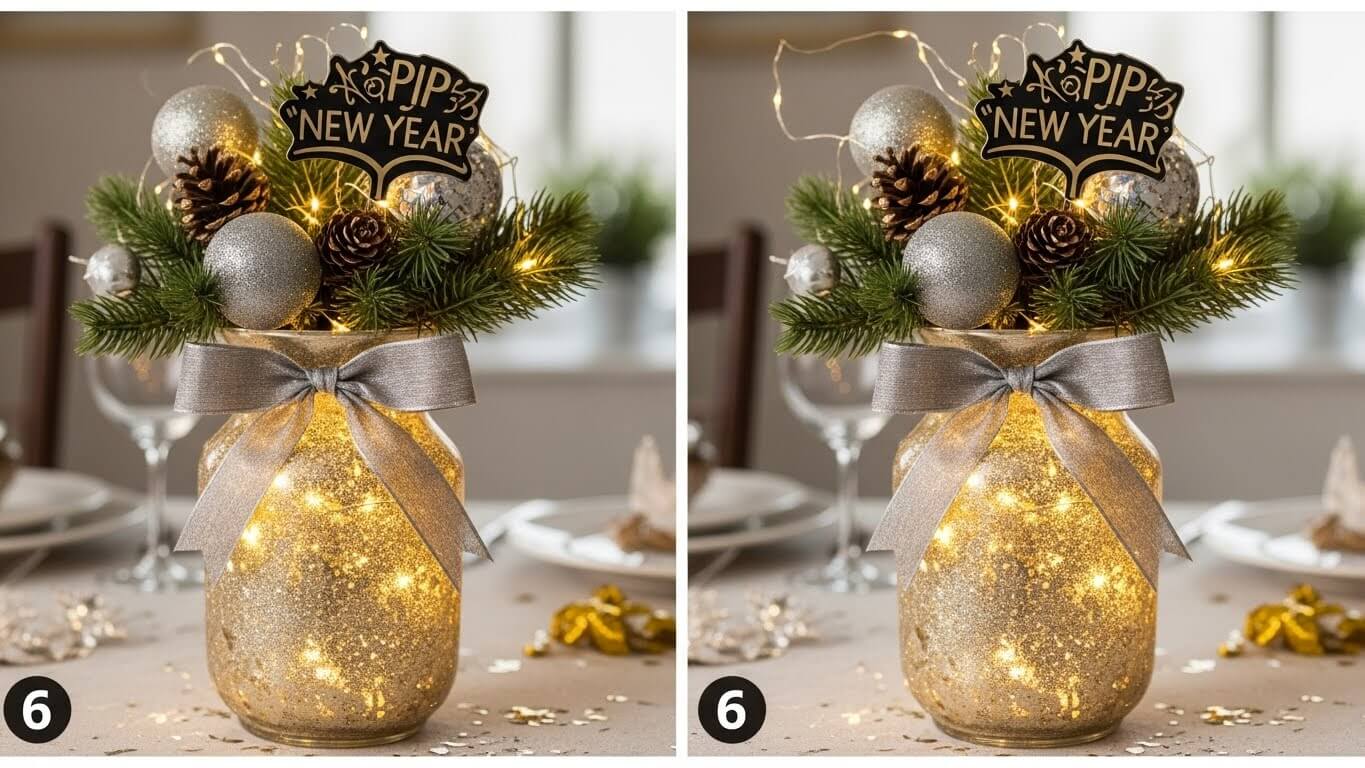
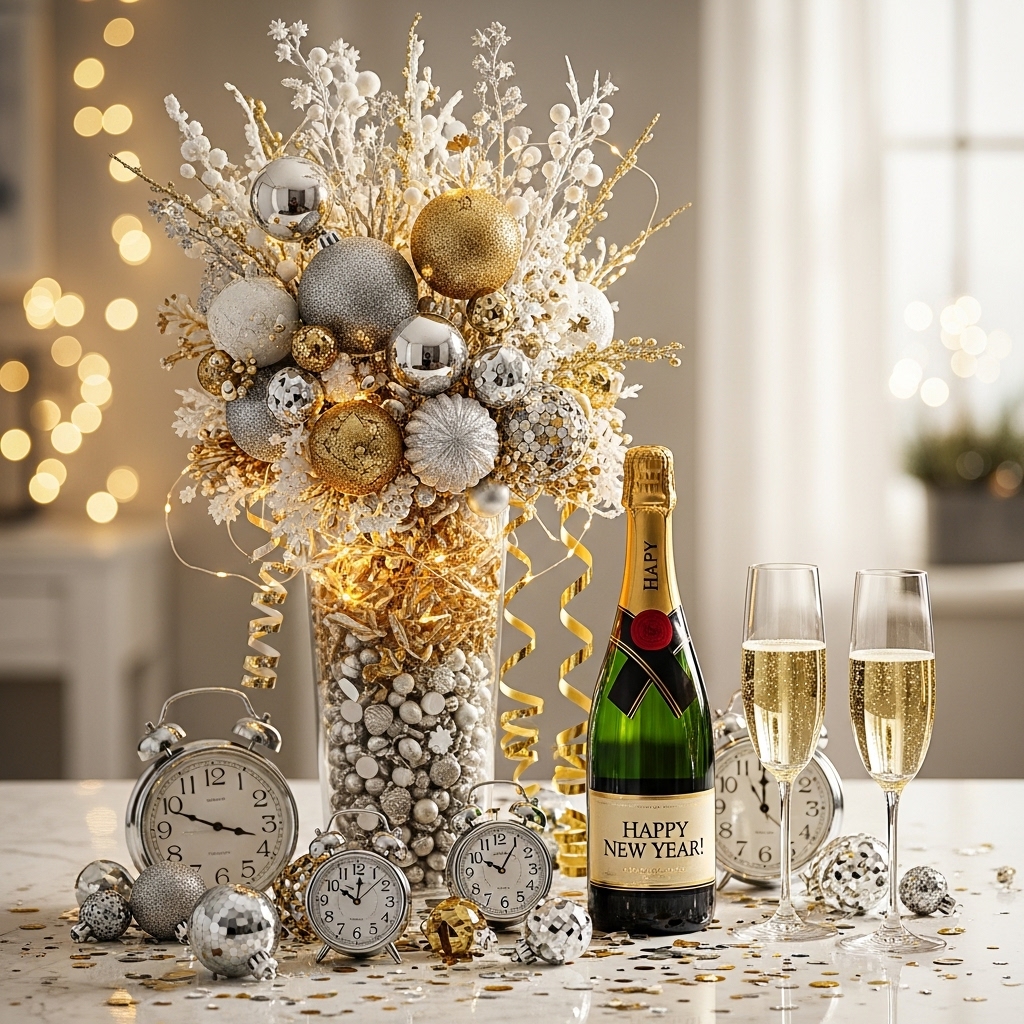
Step 5: Add Thematic New Year’s Touches
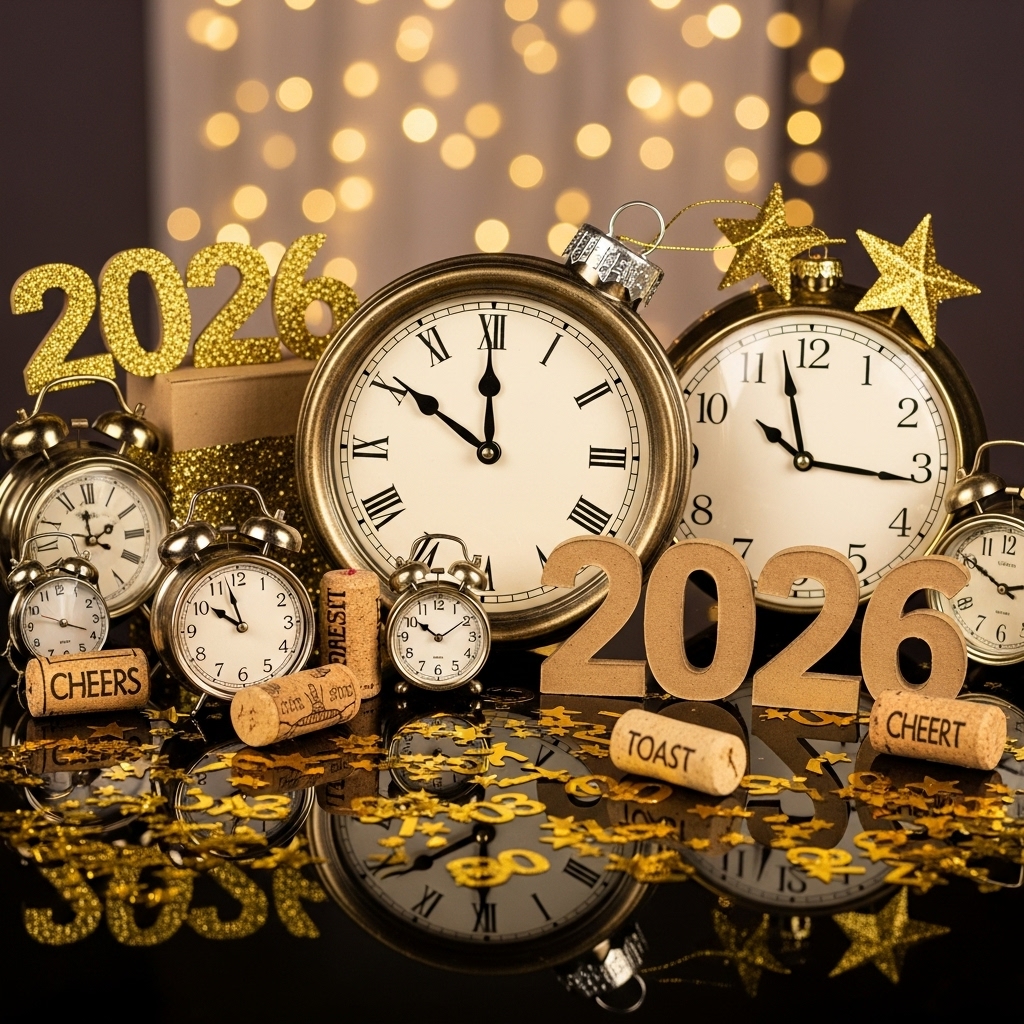
New Year’s screams countdown. Glue mini clocks or “2026” signs (DIY with cardboard).
Scatter confetti stars, gold numerals. Corks from past parties? Personal touch; mine nod to epic toasts.
Top with oversized ornament or clock hands at 12. Humor break: Mine ticked backward once, guests laughed, vibe saved.
Ever thought countdown props amp excitement? They do; pure joy.
Step 6: Final Flourishes and Balance Check
Step back. Spin the piece. Balance? Tweak heights.
Dust faux snow lightly for winter whimsy. Add battery pack discreetly, camouflage with moss.
Snap test pics under table lighting. Adjust. I tweak mine last minute; perfection takes patience.
Voila, your sparkling New Year’s Eve centerpiece shines. Guests ooh and ahh guaranteed.
Common Mistakes to Dodge
- Overloading: Too much junk topples it. Aim for airy.
- Color clash: Stick to gold, silver, white palette.
- No anchor: Windy table? Disaster; glue everything.
- Battery fail: Test lights twice.
Product Picks That Save Parties
Not all supplies equal. I test tons; here’s gold.
a. Top Vase: Threshold mirrored tray from Target. $15, reflects everything

b. Best Lights: Twinkle Star 50LED gold wires, lasts years, $10 Amazon.
c. Glitter Winner: Martha Stewart chunky silver, no shedding mess.

Comparisons? Dollar store lights flicker out fast; invest once. Personal story: Swapped cheap glue for hot glue, stuck forever. Worth it.
Why these? They sparkle without fuss. Ever wondered why quality trumps quantity?
Table Setup Tips for Maximum Impact
Place centerpiece dead center. Flank with gold chargers, taper candles.
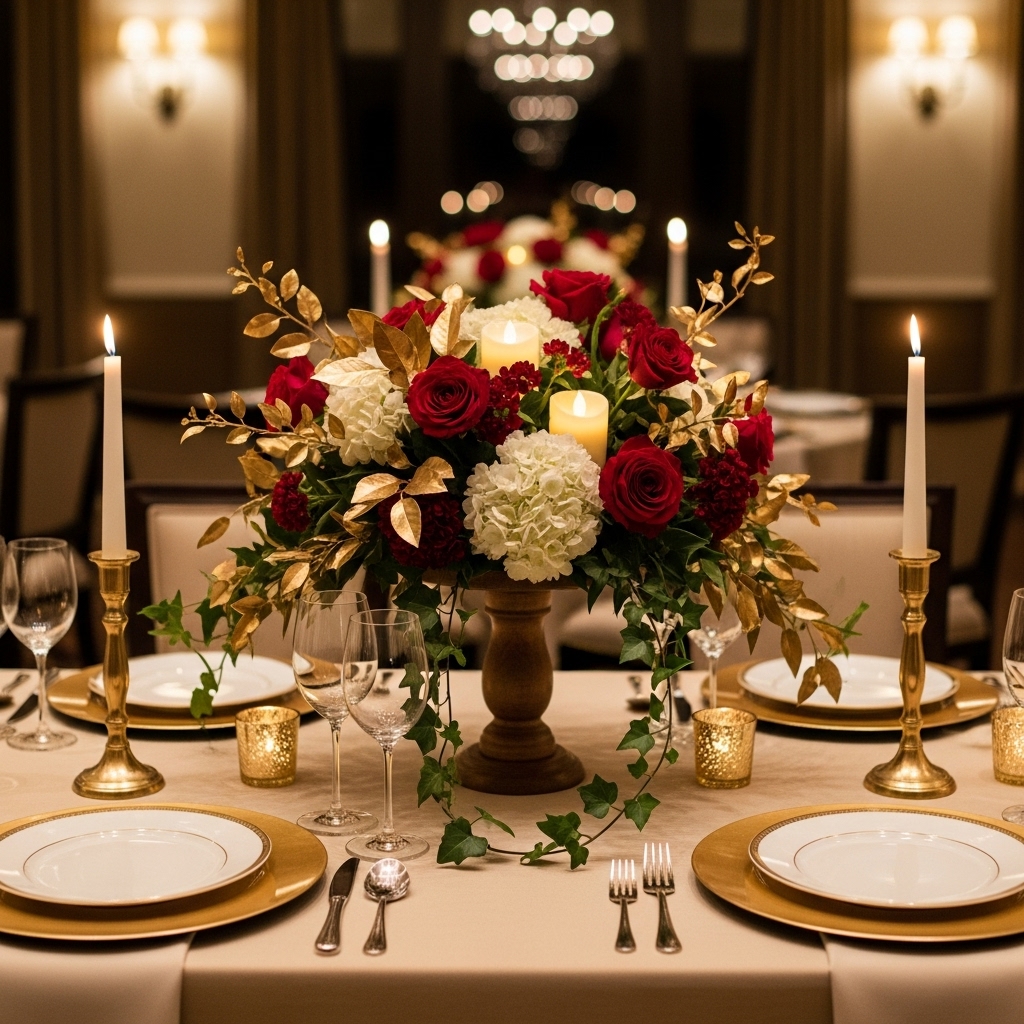
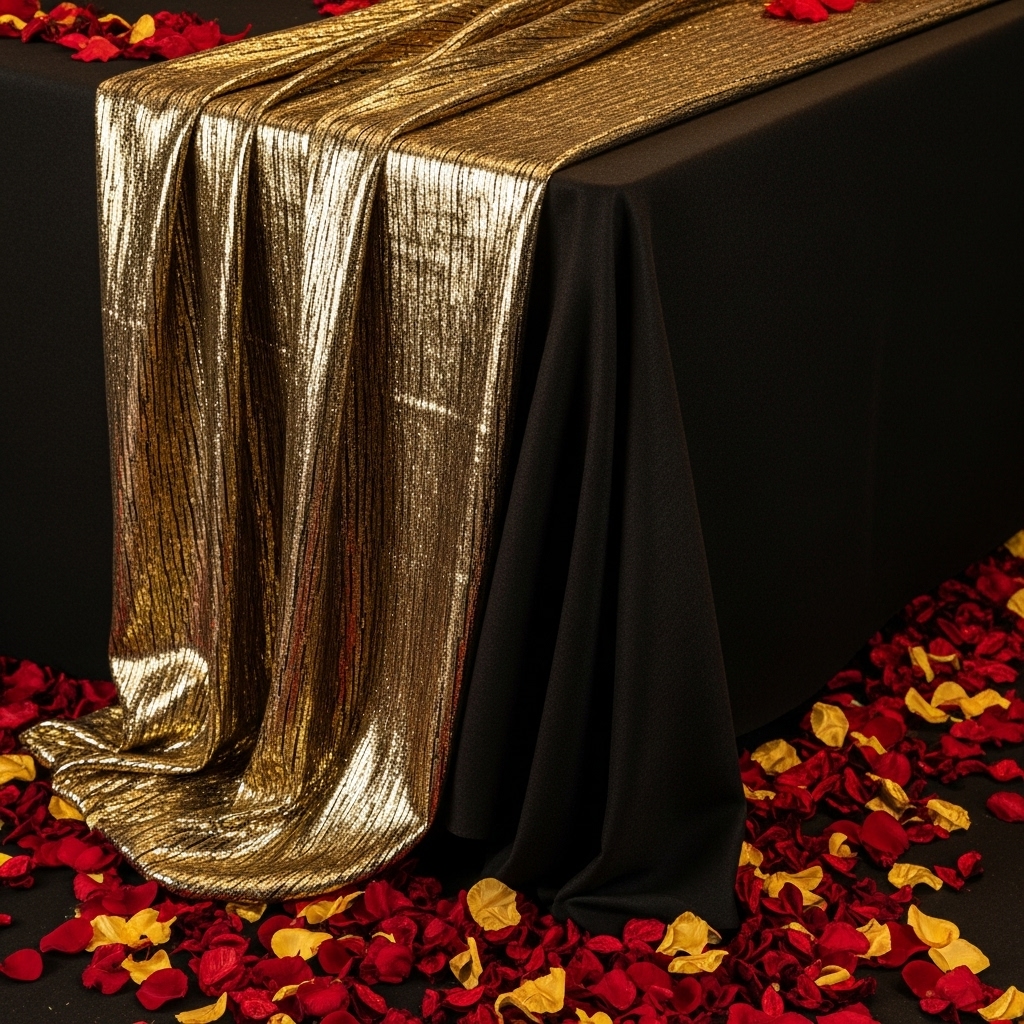
Layer linens: Black base, metallic overlay. Scatter petals around base.
Dim lights, let centerpiece star. I height-check against chairs, no view blocks.
Rhetorical fun: Why hide your masterpiece? Spotlight it.

Budget Breakdown and Time Savers
Total cost: $20-40. Time: Under 1 hour.
Breaks it down:
| Item | Cost | Time |
|---|---|---|
| Vase/Tray | $10 | 2 min |
| Greenery/Florals | $8 | 15 min |
| Lights & Glitter | $10 | 20 min |
| Fillers/Extras | $5 | 10 min |
Troubleshooting Sparkle Woes
Lights dim? New batteries. Glitter shedding? Seal with clear spray.
Tilted? Shims under tray. Too busy? Peel one layer.
I fixed a leaning disaster with toothpicks, hillbilly genius. You got this.
Why Your Centerpiece Will Steal the Show
Recap: Base, layer, sparkle, light, theme, flourish. Boom; sparkling New Year’s Eve centerpiece done.
Hosts envy you. Guests toast your skills. I built mine yearly now; tradition rocks.
Final nudge: Whip this up tonight. Snap a pic, tag me in spirit. What’s your twist; more bling or subtle shine? Party on, friend!
Frequently Asked Questions
How long does assembly take? Most finish in 15-60 minutes, plus drying.
Can I make it budget-friendly? Yes, under $50 using recyclables and thrift finds.
Are real flames safe? Opt for battery-operated to minimize risks.
What if I lack space? Scale to cloches or single vases.
How to store for reuse? Dismantle gently; pack glitter items separately